First protect the work area in front of the (cold) wood burner with a drop cloth. Remove the baffle plate (carefully, as it will have soot on top), log retainer bar, fire bricks and place them in a bucket to clean outside.
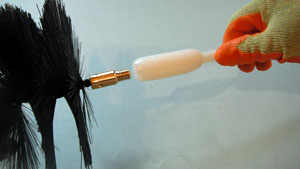
Line up the threads on the Brush to the ‘white’ connector on the first flexi rod. Carefully turn the Brush until fully engaged onto the rod connector, ‘hand tight’ only.
If you have an access door in the stove pipe, remove the cover plate and make sure to keep the wood burner door closed during sweeping. If no access door, you will need to tape a plastic dust sheet across the top of the wood burner entrance. You can either cut a slit for feeding the brush and rods through and tape all round or feed them in from under the bottom of the draped plastic sheet.
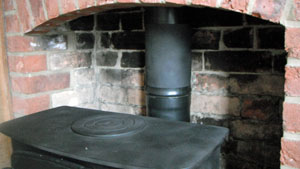
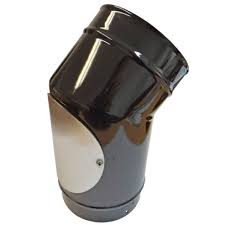
Gas Tight Door in place.
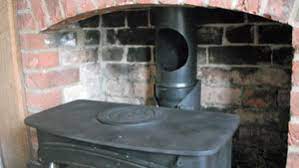
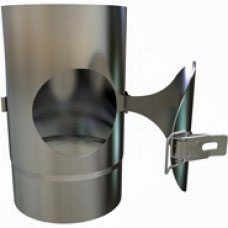
Door unclamped for sweeping flue.
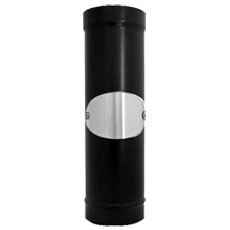
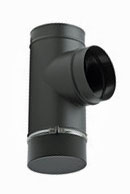
Other examples of stove pipes access doors:
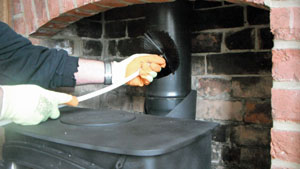
Feed the Brush into the flue pipe, by gently pushing the nylon bristles slightly backwards. Either directly through the stove pipe access hole or from underneath the top of the stove, inside the wood burner.
Push about half of the leading flexi rod up the flue. Allow enough exposed rod so you can comfortably bend it to line up the next rod. You should find most of the loose soot will fall inside the pipe. Or you could tape a damp rag around the pipe just above the hole, to contain any excess dust.
Continue to attach further rods as you proceed up the flue. Each flexi rod will spin on easily if lined up straight. Use the latex coated gloves to grip the rods. Never use excessive force, hand tight only.
Both ends of every flexi rod have been connected to another rod to make sure all the threads mate easily. The Brush adaptor threads are tested too. If (due to their newness) you find some rods slightly more resistant to twist together, use a tiny bit of soap or washing up liquid on the thread to lubricate it. Wipe threads clean after the first use, as nylon is self lubricating and wont be needed again.
It is not necessary to rotate the brush as you sweep, the spiral mounted bristles work fine. Do not try to ‘push and pull’ the rods as you go up or down the fluebecause the bristles are oversized for the flue diameter, so are designed to bend back putting pressure on the flue liner wall. A few rotations of the chimney rod (clockwise only) can help the Brush guide ball slide past tighter bends. If you experience considerable resistance getting the Brush to go up the flue then it is probably due to extensive soot build up. Use a smaller size Brush to clean it with first.
You should reach the chimney pot or cowl cap with about half of the last chimney rod to spare for retrieving all the rods. Cowl caps: do not over exert pressure on it, feed the rods more carefully near the end. With an open chimney pot: it will feel like a ‘pop’ with no resistance, as the Brush exits. It’s a good idea to mark a reference line on the last flexi rod, so you know next time when you reach the cap.
Go outside and check you can see the brush. Tradition is to make a wish first.
Carefully and smoothly pull the rods back down, disconnecting them as you go, to avoid unnecessary soot spillage. It just remains to sweep up the collected soot debris from inside the stove and any connecting pipe sections with the hand brush.
If your stove pipe has a T piece connected to the back of the wood burner, carefully pull off the cap at the bottom and remove all the accumulated soot. Alternatively, you could securely tape a heavy duty refuse bag (with the soot cap off) to collect all the soot in for easy removal.
Final clean up with the vacuum cleaner, re–assemble the clean components inside the wood burner. Check the soot trap cap is back in place. Wipe down the rods and clean the brush head before storing.